Install your lawn
Don't sweat it. Here's how:
How much sod do you need?
Use out handy sod calculator to figure out how much sod you need.
Prepare
![]()
Prepare the area by clearing it of any existing weeds or grass.
• This will minimize problems in the future with weed control.
• The most common way to clear the area is by applying a broad-spectrum herbicide.
Remove sticks, stones, roots, debris, and large clods.
Locate and flag sprinkler heads.
This will minimize damage or delays when cutting out the sod.![]()
Work, level, and smooth the area with a rake
Make sure the grade is ½ inch below driveways, walkways, and borders; and 1″ below sprinkler heads.
Pre-irrigate the surface
Water the evening before installation. It is essential that sod is not installed on a dry surface.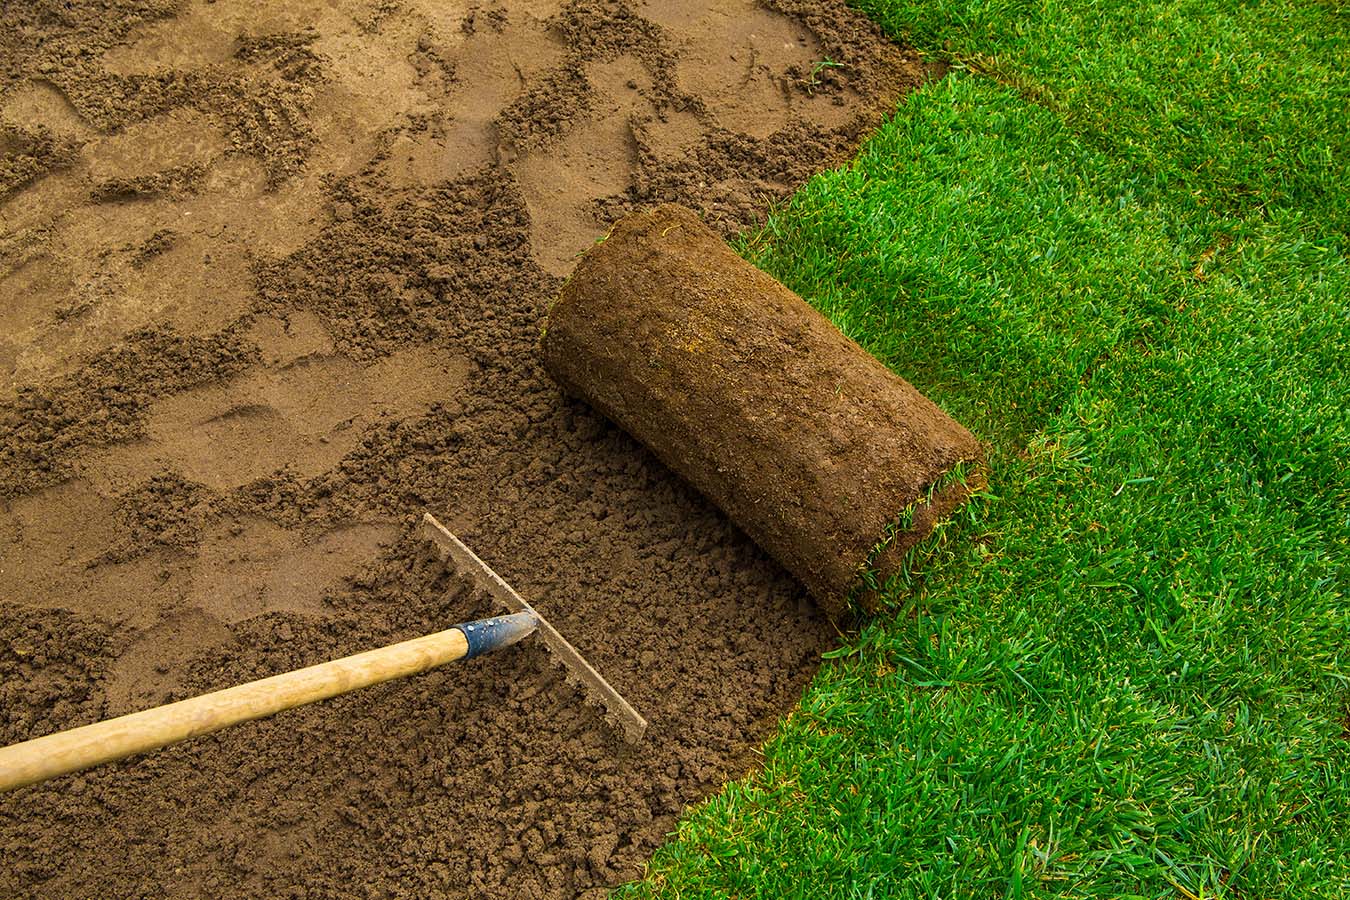
Install
![]()
Install the sod immediately.
Remember sod is a live plant and needs to get installed as soon as it arrives.
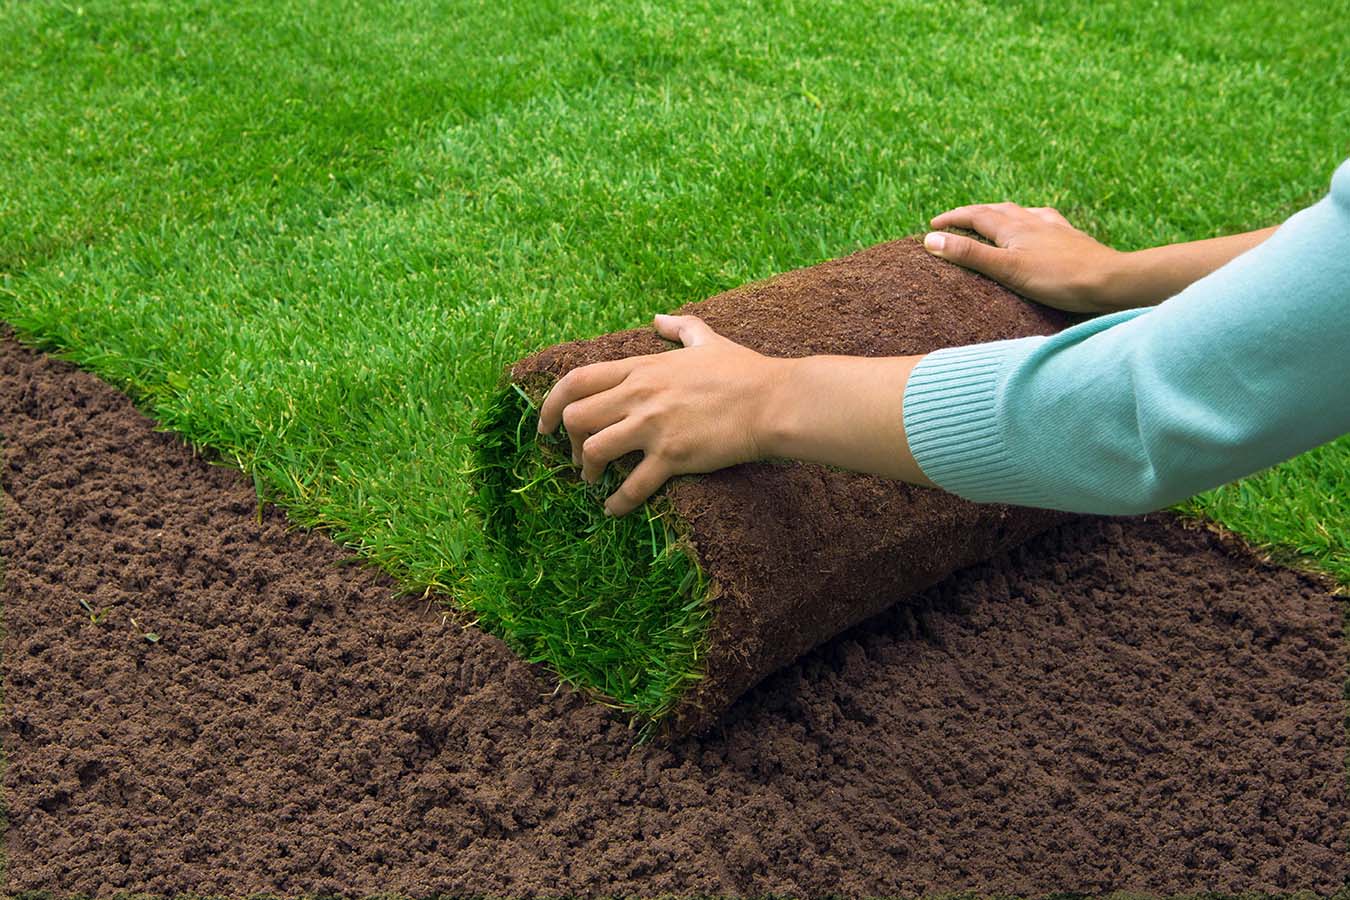
Start laying the sod along a straight line.
• Along a patio, a fence, flower bed or driveway
• Butt edges together tightly, avoiding overlap or gaps.
Stagger the joints in each row in a brick-like fashion.
![]()
Use a sharp knife to trim corners.
• You’ll need a knife (carpet knives are perfect) to trim around trees, sprinklers, etc.
• A lawn edger is also a handy tool.
![]()
Never let newly installed sod dry out.
Water lightly as you go.
Maintain
![]()
Water, water, water
It is critical that you water your lawn every day the first two weeks. NEVER let the roots dry out!
HINT: Dry is bad, mud is bad. Moist is good
Week Two: Reduce watering to every other day.
Mow after 10-14 days.
Never remove more than 1/3 of the grass in one mowing.
Start it out right
• After four weeks apply a starter fertilizer.• Keep it green and healthy by using a maintenance fertilizer something like a TurfBuilder, there are some organic options that are great as well.
Enjoy your new Harmony lawn!
Avoid heavy use of the sod until it has firmly rooted and has been mowed 2-3 times.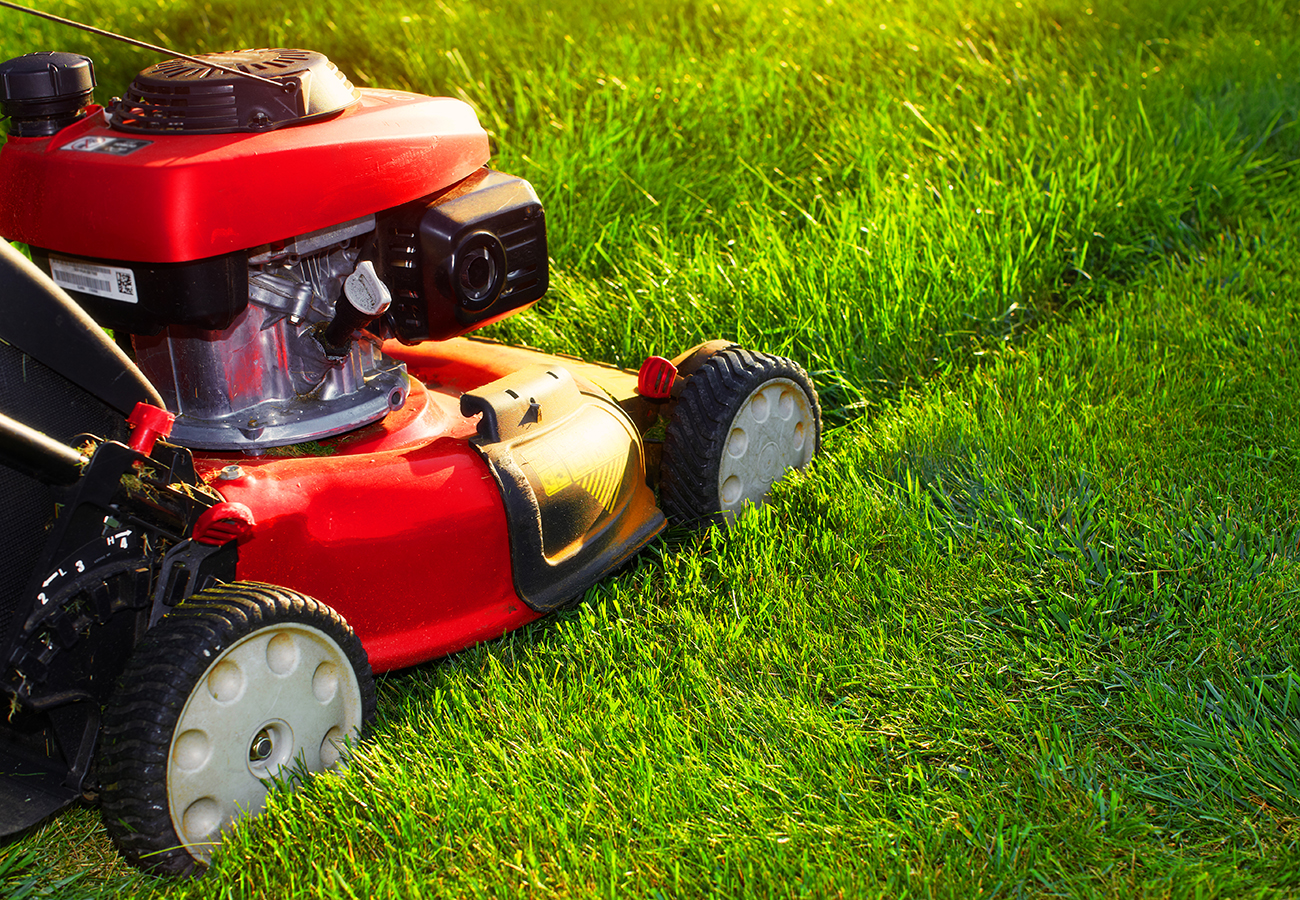
Watering and Mowing Guides
Watering Guide for Your New Lawn
Water requirements can vary for areas with greater precipitation. The guidelines below are for warm weather or dry climate. Proper sod watering is essential for root establishment. Enough water should be applied to penetrate the sod and 2 inches of native soil. Soil should remain evenly moist for the first two weeks to promote rooting.
First 14 days
• 60-70°F 8 am, 1 pm, for 15 minutes
• 70-90°F 6 am, 12 pm, 3 pm for 20-25 minutes
• 90°F + 6 am, 10 am, 2 pm, 4 pm for 20-25 minutes
• If runoff is excessive or sod is soggy, reduce the length of time, not the frequency.
After 14 days
• 6 am daily for 20-25 minutes. Shaded areas may require less water.
After 30 days
• 10 am 2-3 times weekly for 30 minutes. Shaded areas may require less water.
Helpful hints
• Don’t water lawns at night, it may promote disease.
• During periods of extreme heat or dry winds, the lawn may require additional water.
• Aim to water deeply, less frequently to encourage deep roots.
![]() Don’t have a sprinkler system?
Don’t have a sprinkler system?
Let Orbit help you get started! Use the online Orbit Sprinkler System Designer to create an instant design with a complete parts list and instructions.
Step 1 Draw
Using the design tool, trace over the top of a scanned image of the property or a satellite image downloaded from maps.google.com.
Step 2 View
Once your property drawing is complete, view your custom sprinkler system design immediately!
Step 3 Save/print
With the design complete, save a PDF copy of the plan and installation guide to your computer. An Orbit Sprinkler System Design includes: Trenching, wiring, piping, head placement maps and step-by-step installation guide.
Print your parts list, bring it to your nearest home improvement store and purchase your materials.
For questions about your design please email: [email protected] or call 866-694-7913
Need an instant sprinkler system?
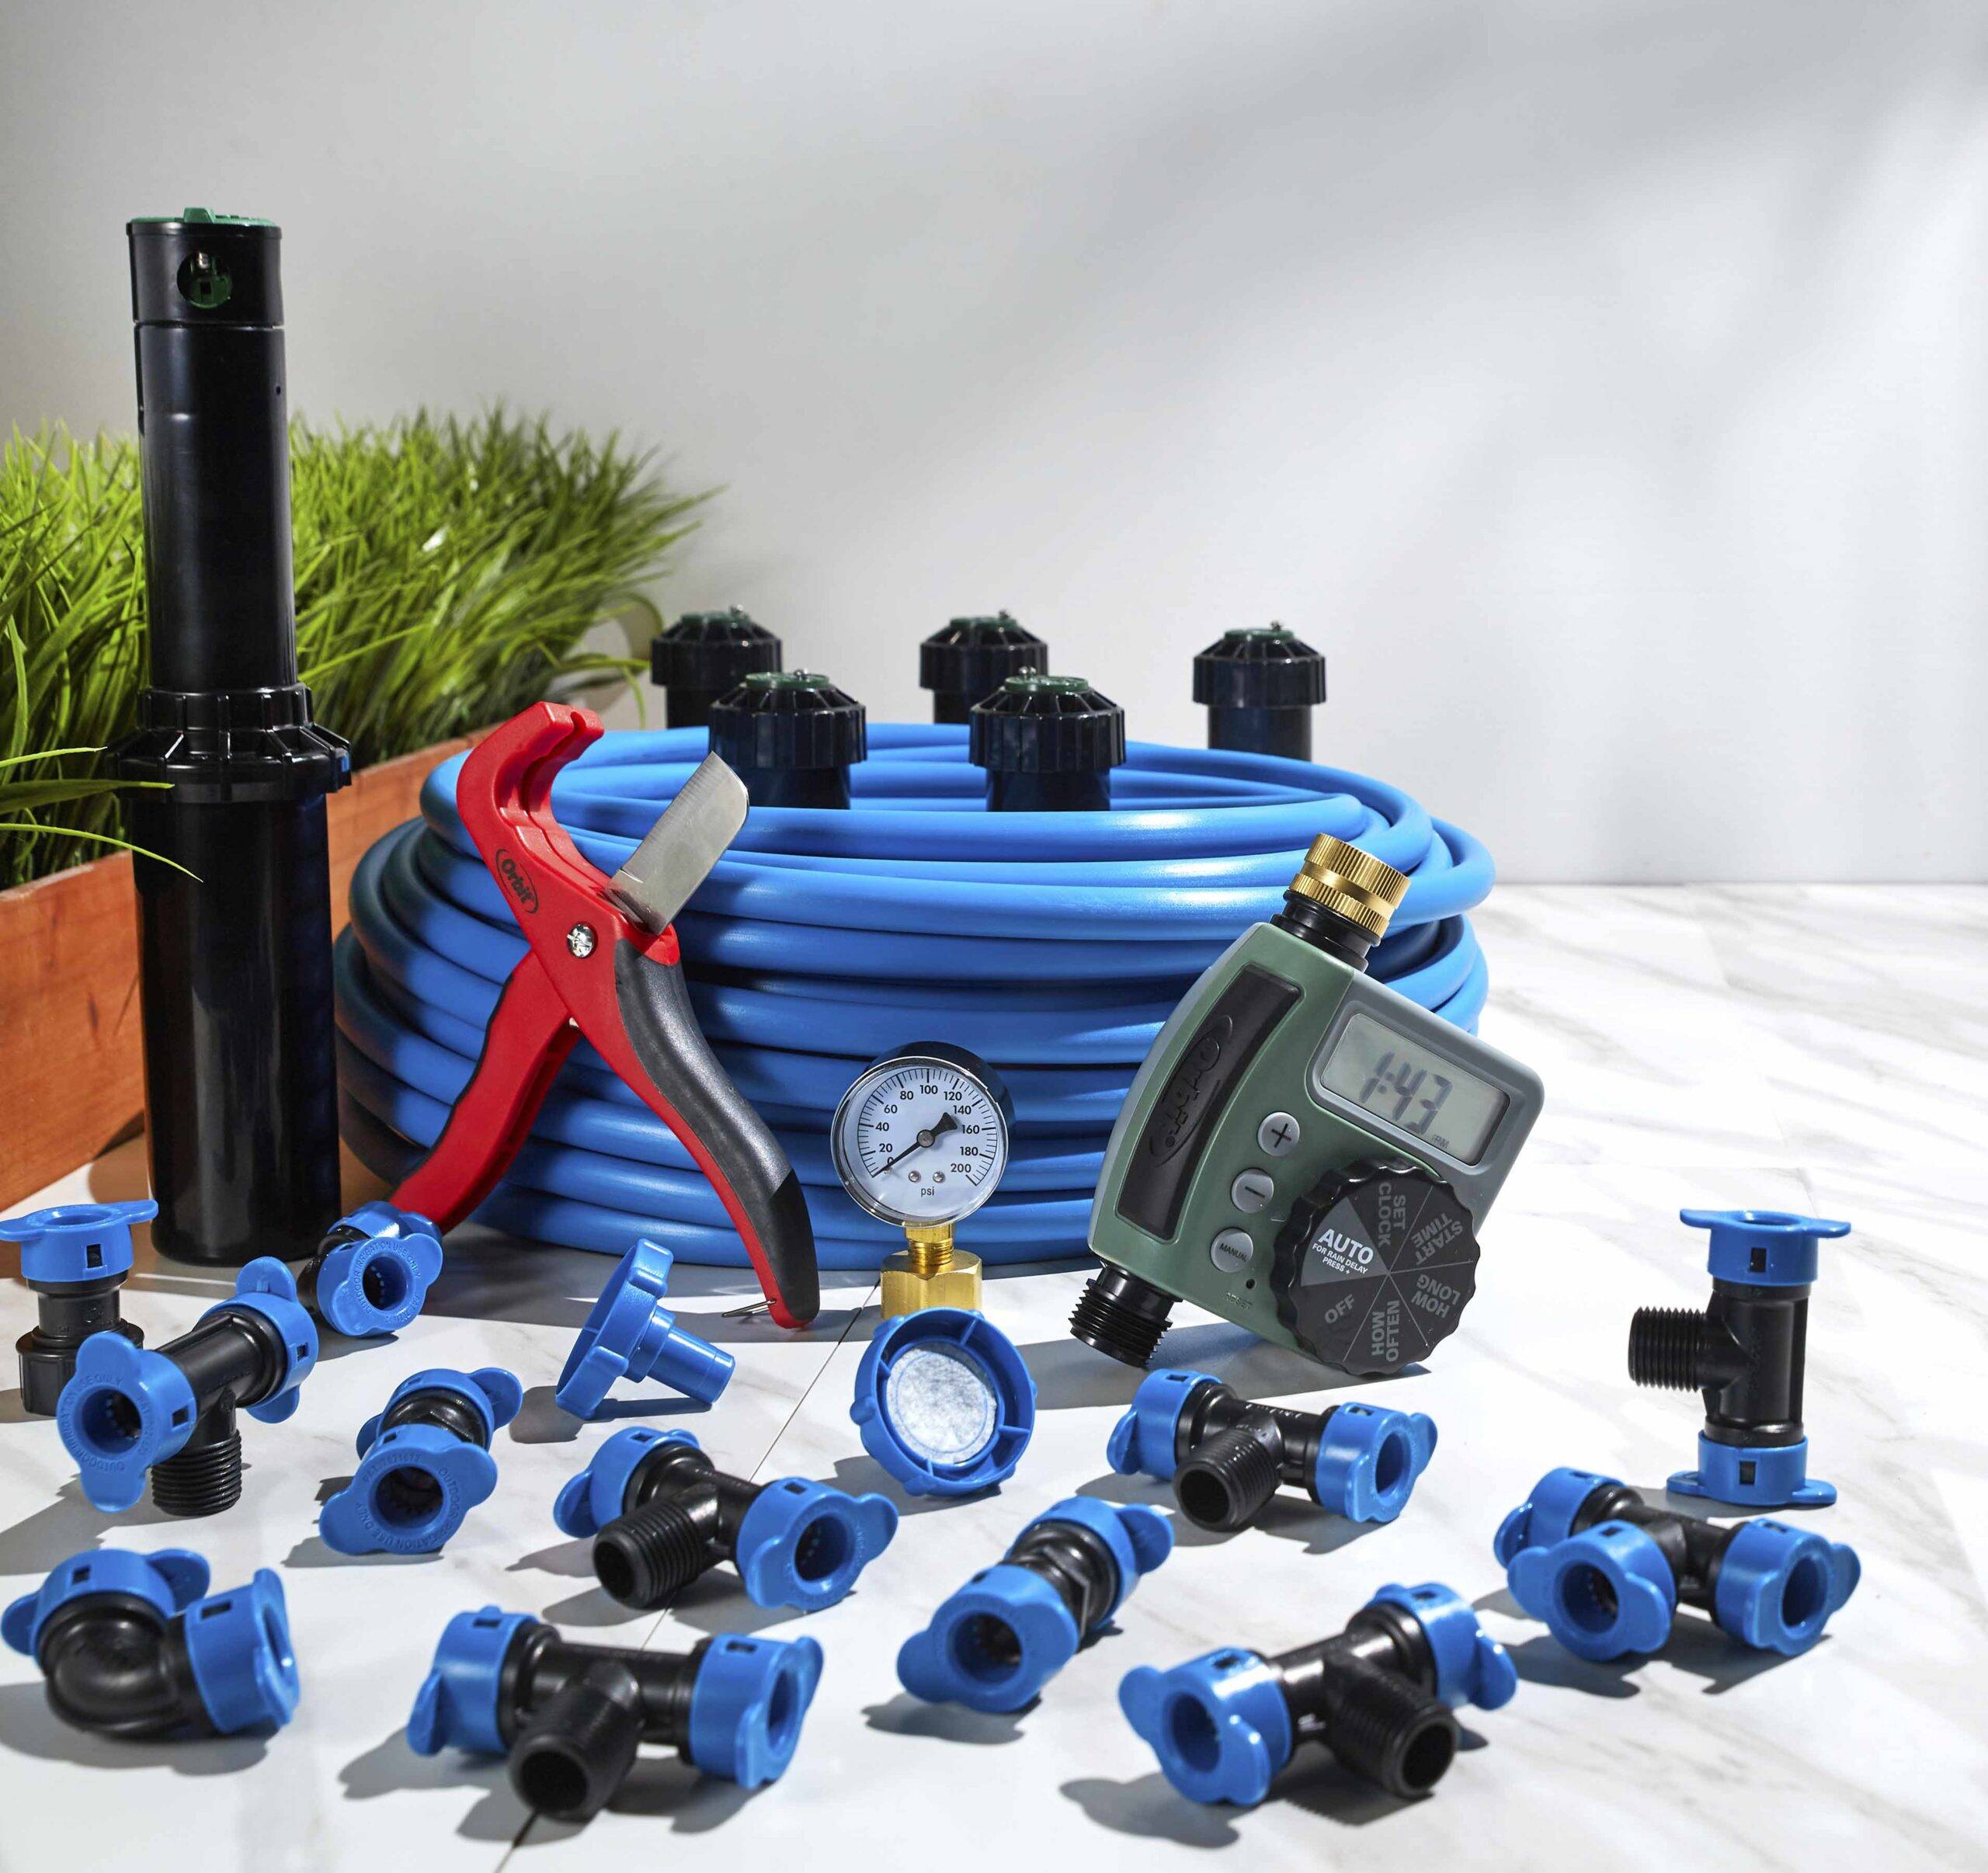
Try Orbit’s Complete Sprinkler Kit, water the yard from the hose faucet; everything you need is included in the kit. Purchase Orbit’s Complete Sprinkler Kit at your favorite home improvement store.
Take the guesswork out of watering with Orbit B-hyve Smart Wifi Sprinkler Timer!
WeatherSense™ technology receives local weather data and automatically adjusts your controller to deliver the right amount of water to the lawn.
Water from Anywhere The B-hyve WiFi timer allows you to control your timer from anywhere with a cellular or internet connection.
Purchase Orbit B-hyve at your favorite home improvement store
Mowing Guidelines
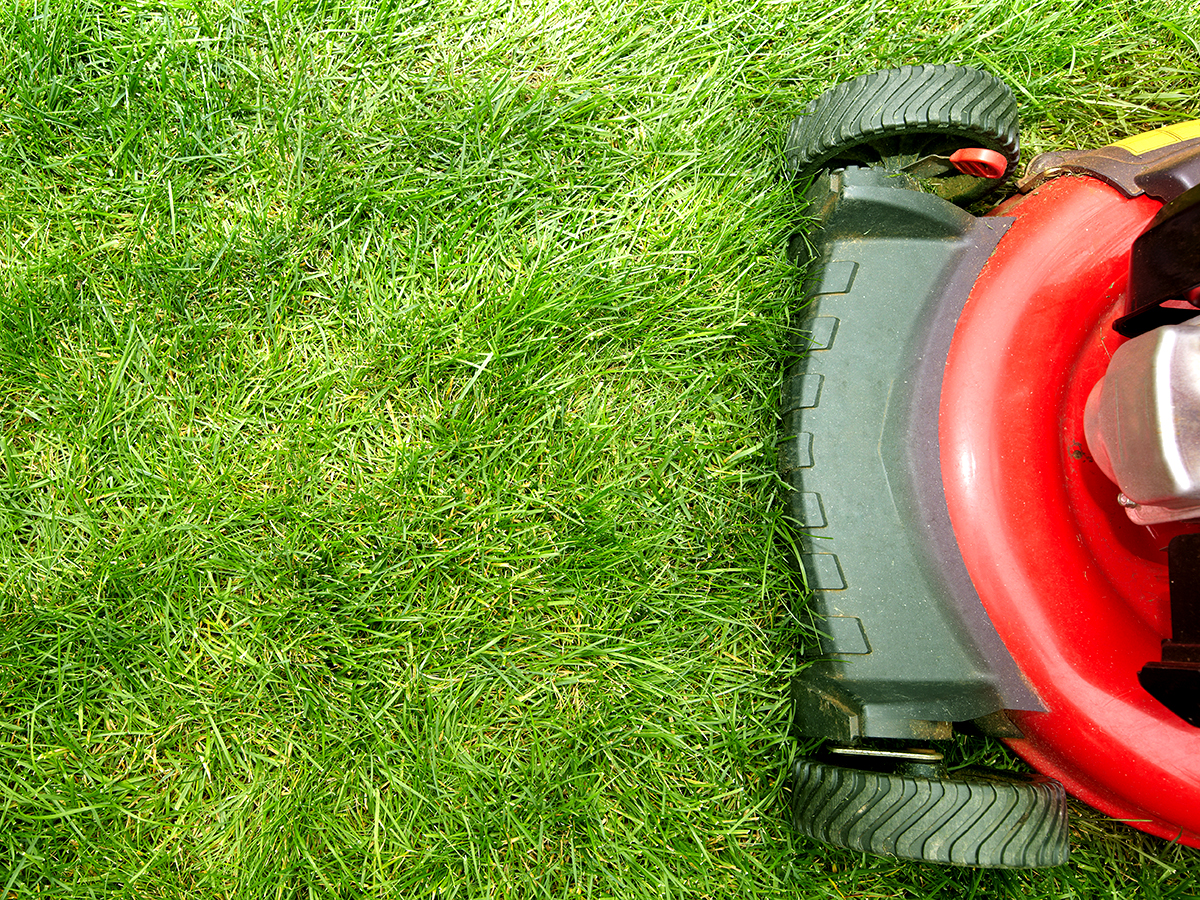
Mow for the first time on day 14 to three inches tall, when the blades of grass are dry. Never remove more than 1/3 of the grass in one mowing. The lawn must be well established before a riding mower is used.
Mowing heights by variety
Bermuda 1½” (3.8 cm) CA 1” (2.5 cm)
Bluegrass 1½-2” (3.8-5 cm)
Centipede 2” (5 cm)
Fescue 1½-2” (3.8-5 cm)
Ryegrass 1½” (3.8 cm)
St. Augustine 3” (7.6 cm) CA 1” (2.5 cm)
Zoysia 2” (5 cm)
Common Errors
Read this section before beginning installation
Covering sod. Do not cover sod with plastic, shade cloth, burlap, etc. It may burn.
Preparing and installing the same day. Prepare two days in advance to identify uneven areas.
Not using a roller. You’ll need it for adequate contact.
Not pre-irrigating. Water the area the night before installation. Dry soil under new sod robs the roots of moisture.
Not watering as you install. Lightly water after every ten pieces. New sod can’t be allowed to dry out, even for a short time.
Inadequate irrigation system. Hand watering won’t be enough. Spray patterns must overlap and reach all areas. Timers are recommended.
Delayed mowing. Mow lightly the first time on day 14.
Scalping. Never remove more than 1/3 of blade length. Check the mowing heights in this guide for your variety.
Premature fertilization. Don’t feed until one month after installation.
Applying fungicide. Effective application requires a dry surface. New lawns will not tolerate this condition. Apply Scotts® DiseaseEx™ Lawn Fungicide to cover a wide range of problem lawn diseases.
Lawn troubleshooting guide
BROWN AREAS
Water deprivation Sprinkler heads must rise above lawn level. Confirm water is reaching edges along sidewalks and spray patterns overlap.
Helpful suggestion: Before delivery, test the irrigation system on the installation surface, identifying dry areas. Replace or adjust sprinkler heads as needed.
Poor contact Soil may have settled, creating air pockets. Pull back the new sod, fill the area with clean soil and ensure contact between sod and soil. Hand water the area thoroughly.
Helpful suggestion: Use a roller twice; in the final stage of soil preparation and after the sod is installed. (The roller should be 1/3 full).
Installation error Sod seams must be tight and abut driveways and sidewalks. Airspace causes dryness. If the lawn adjoins a flowerbed, edges must have soil pushed against them.
Helpful suggestion: Begin installation along edges. See the “Installation” section of this guide.
Use Scotts® DiseaseExTM Lawn Fungicide™ to solve a wide range of problems and lawn diseases.
SOGGY AREAS
Standing water Poor drainage or an air pocket under sod may cause water to pool. A small area can be remedied by aerating with a screwdriver, then leveling the pocket with clean soil.
Helpful suggestion: Improve drainage with amendments recommended in the “Preparation” section of this guide.
Night watering Adjust the irrigation schedule, allowing the lawn to dry before nightfall.
THINNING
Inadequate Sunlight
Helpful suggestion: Prune or thin trees or shrubs prior to installation.
Overwatering Frequent, shallow watering of established lawns, leach nutrients and prevent proper oxygen absorption.
Helpful suggestion: If the lawn is mature, feed with a balanced fertilizer and schedule irrigation to be deeper and less frequent
For a thicker, more lush lawn use Scotts® Turf Builder® Thick’R Lawn™
YELLOW SPOTS
Pet waste If you have pets, you will have yellow spots — this is unavoidable, they may be repaired with Scotts® EZ Seed® Dog Spot Repair™.
Acidic drip Some trees and shrubs (especially conifers and eucalyptus) may cause yellowing or poor growth under the drip line.
Pool or spa splash Chlorine and chemicals will yellow a lawn.
Maintain a Beautiful Lawn
Groom a gorgeous lawn and become the envy of the neighborhood
Remember: A lawn is a living, growing field made up of individual grass plants. Tend your grass like you would a tomato plant or petunias.
Lawn Food Frequency
Feeding your lawn every 6 to 8 weeks gives grass plants the nutrients they need for deep roots and strong, full blades. Regular feedings provide the nutrients the lawn needs to look its best and withstand the stresses of weeds, heat, drought and family activity.
Bare Spot Repair and Lawn Thickening
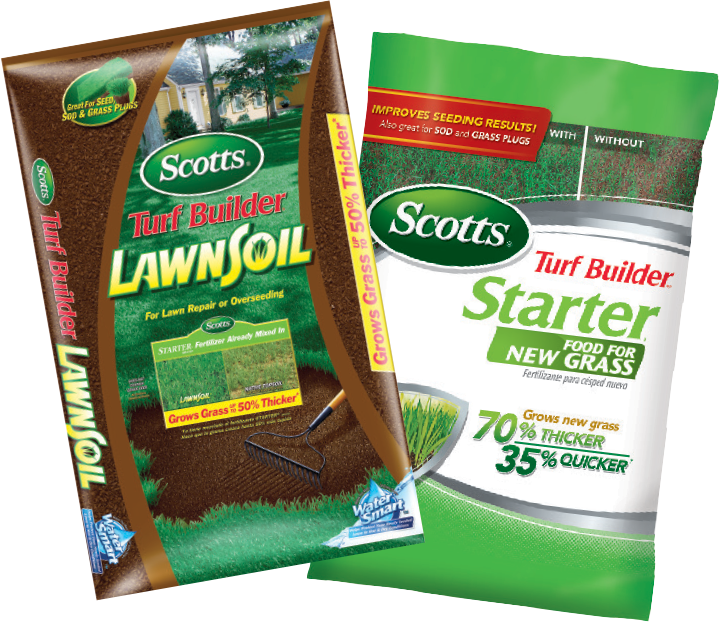
Bare spots in the lawn are easy to repair using Scotts™ EZ Seed™. Repairing bare spots not only makes your lawn lush and more enjoyable, it also helps prevent bigger problems, like weed invasions, from happening later.
With each passing year, the wear and tear on your lawn can cause it to become thin and weak even with regular feedings. Thin, weak grass is also an invitation for weeds. Overseeding using Scotts® Turf Builder® Thick’R Lawn™ is a quick, inexpensive way to help return worn-out, tired grass to its former lush, green glory.
